
Beginner skills, with Pro results.
See Installation Videos HERE
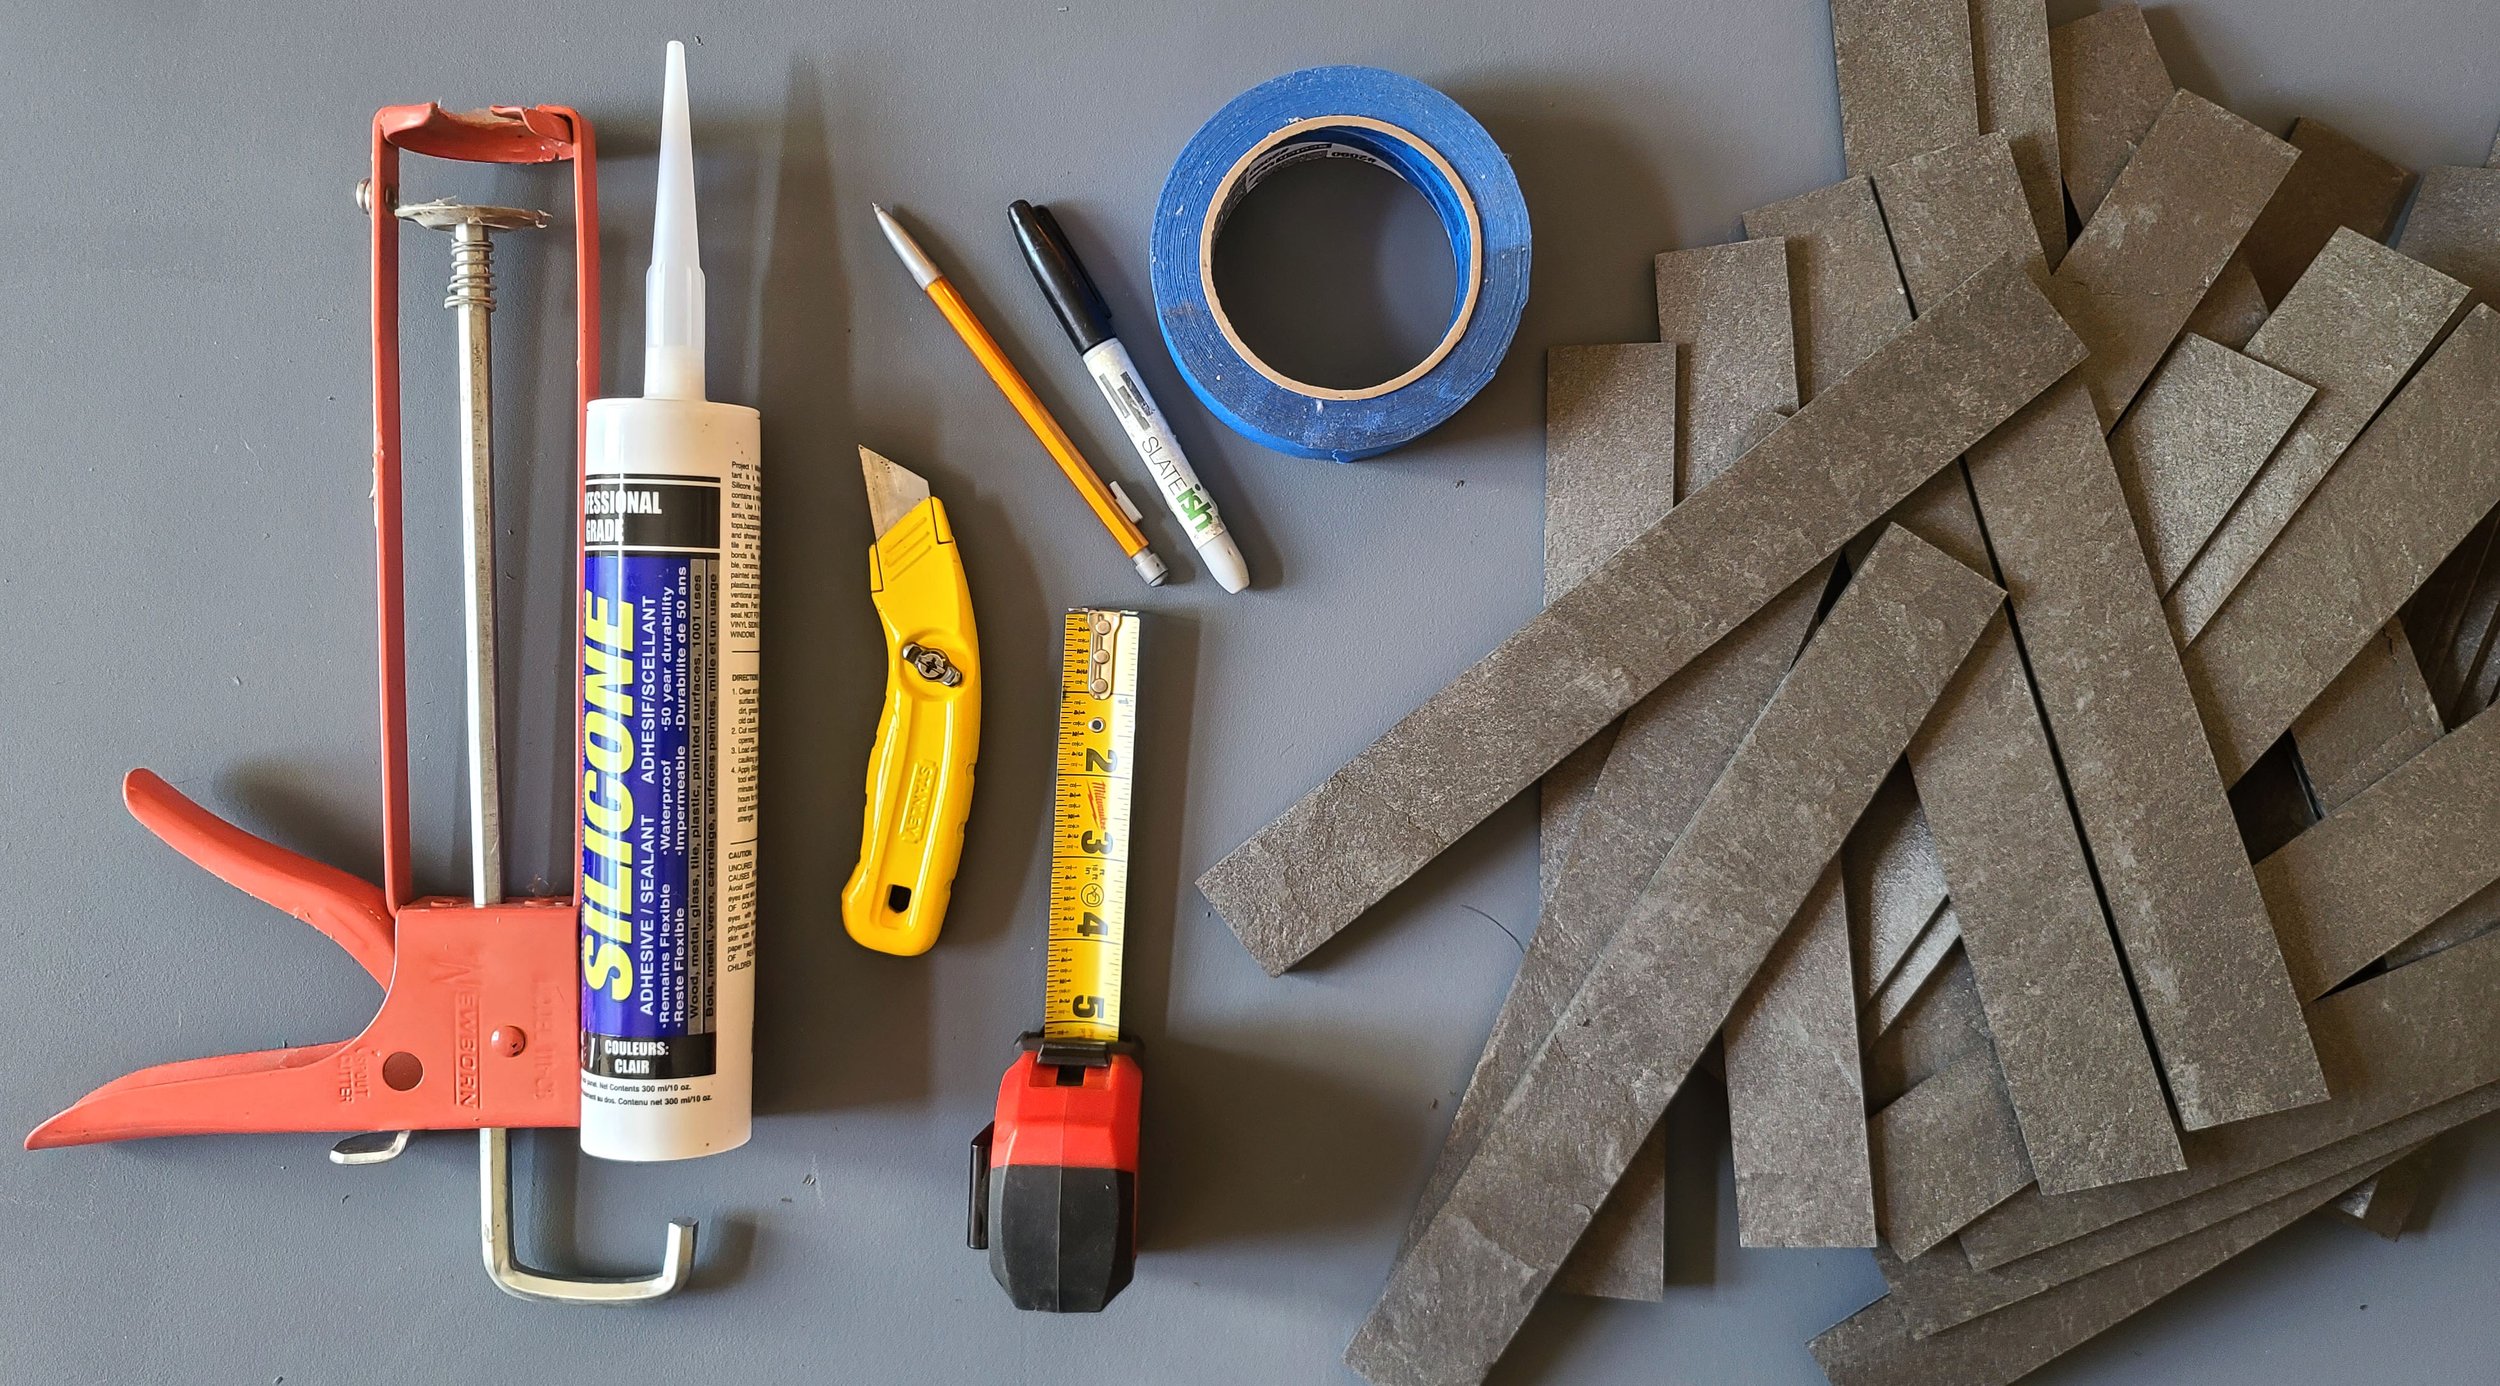
Installation Quick Tips for Loose Tile
Clean, Flat Wall Surface. Your substrate can be painted sheetrock / drywall, or wood, such as OSB, Plywood, or Hardboard. To disguise small gaps between tiles, you can paint your substrate with a dark color. Be sure to give it time to dry before you install the tile!
For most projects, use Clear 100% Silicone Adhesive. More info on adhesive HERE
Start at the bottom and work your way up - using painters tape to hold tiles in place until dry if necessary. Use one thick tile for every 4 to 5 thinner tiles.
If you have more than one case, mix tiles from multiple cases.
Draw level lines every foot or two up the wall to help make sure your installation is straight and even. If it’s not, make small adjustments as you go up to your next line. This is where painter’s tape can come in handy.Cut with a miter saw - carbide tipped blades work best. You can always use our no-cut method too!
If your adhesive squeezes out between tiles - let it dry and cut away later, or use a utility knife blade. Be sure not to smear adhesive on the surface of the tile. Keep a paper towel handy to wipe your hands when necessary during installation!
You did it! It looks amazing!
Product Details:
Tile size: 1.5” x up to 12”
Most tiles are 11-12”
Tile thickness: 80% of tile - 1/16” to 1/4”. 20% are 1/4” to 3/8”
Weight: Approximately 1.2lbs/sf
Mitered Corners:
Installation Quick Tips for Panels
Use Omnigrip trowelable adhesive
Work from the top down, so you don’t drip adhesive on the installed panels
Work from Right to left (the panels are handed)
To reduce waste, and limit cutting, add Loose Tile to your order to fill in areas around the panels
For these areas, use the tinted mastic or make sure your substrate is painted a medium/dark color to disguise any gaps and use Clear 100% Silicone adhesivePanels can be cut - we use a slide on a table saw, or a compound miter saw
Starter panels are available in 9 linear foot cases (15sf), in 3 lengths
Cuts Like Wood
Miter saw, jigsaw, or table saw.
Slate-ish can easily be cut with standard woodworking tools. We prefer a miter saw, but a table saw or even jigsaw can be used.
Carbide tipped blades are best, as Slate-ish is VERY hard, and can be tough on blades if you are cutting a lot of pieces.
For Loose Tiles, you can cut to fit, or overlap thin tiles for a no-cut version.
If you’re comfortable with a table saw, you can use a 2x4 or 2x6 vertically to apply even pressure to a tile to rip a narrower piece. Sometimes these are needed for the top of your installation area, or around windows or other wall interruptions.

Use a jig for cutting Loose Tile.
We use a full-support jig on our saw - so the thin pieces won’t chatter and chip when they are cut. You can even cut several of the thin pieces at a time.

Note - the area above the fireplace opeining wall called out by the fireplace manufacturer as an area that should have no combustible materials. We built a fiber cement panel to comply with thier published distances.